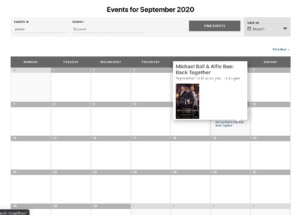
Importing Stager events into The Events Calendar is a breeze with Jeero. Instead of manually copying and pasting information, your website will always have up-to-date information, including dates, prices, and ticketing.
Stager offers a full force event management and ticketing solution that helps you with planning your events, finding the right crowd and selling a lot of tickets.
The Events Calendar is the most popular calendar plugin for WordPress with over 800,000 active users.
This tutorial will show you how to connect your WordPress website to Stager. You will then import your events into the The Events Calendar plugin. When finished, you will have a website that provides an always-updated overview of your events, including showtimes, full descriptions and images.
Prerequisites
- Check that your WordPress website is up and running.
Sign up for the Stager Awesome plan.
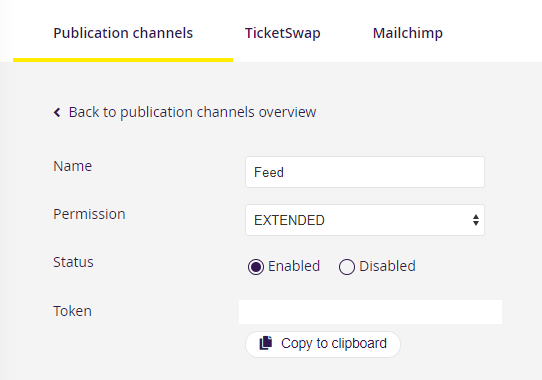
Get you Access token by going to Settings → Integrations → Publication Channels in Stager. For now you can use the default ‘Feed’ channel or create a new one (eg. ‘Website’).
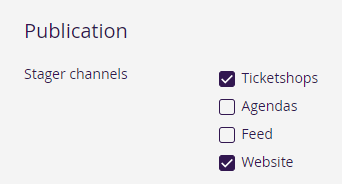
Go to Event → Publicity →Publication channels in Stager and make sure that the proper channel is checked.
Step 1 – Install The Events Calendar
- Go to Plugins → Add new in the WordPress admin.
- Look for ‘the events calendar’.
- Install and activate The Events Calendar plugin.
You now have a new Events menu-item in the WordPress admin:
Step 2 – Install Jeero
- Go to Plugins → Add new in the WordPress admin.
- Look for ‘jeero’.
- Install and activate the Jeero plugin.
Step 3 – Start the sync
- Go to Jeero in the WordPress admin.
-
Select Stager in the Ticketing solution field:
-
Click on Save Changes.
Enter your Stager Access token:
Click on Save Changes.
-
Click on the The Events Calendar tab.
-
Tick the Enable The Events Calendar import checkbox:
- Click on Save Changes.
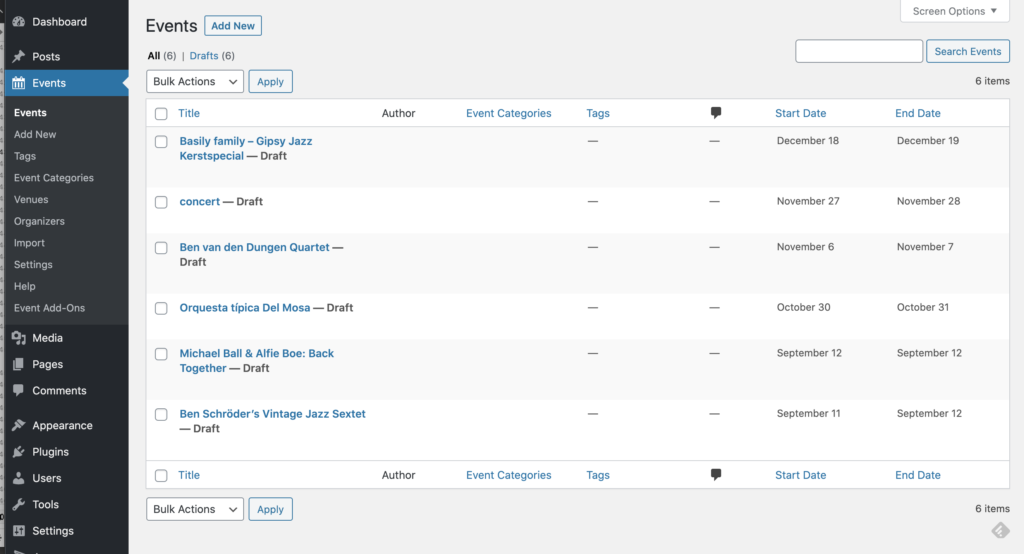
The sync is now active. Your events will be visible in The Events Calendar within 5 minutes:
Step 4 – Show your events on your website
The Events Calendar automatically adds a page to your website with an overview of all your events. The exact URL of this page can be found like this:
- Go to Events → Settings in the WordPress admin.
- Stay on the General tab and scroll down to the Events URL slug field.
- In the instruction below the field you can find the URL:

- Click on the link.
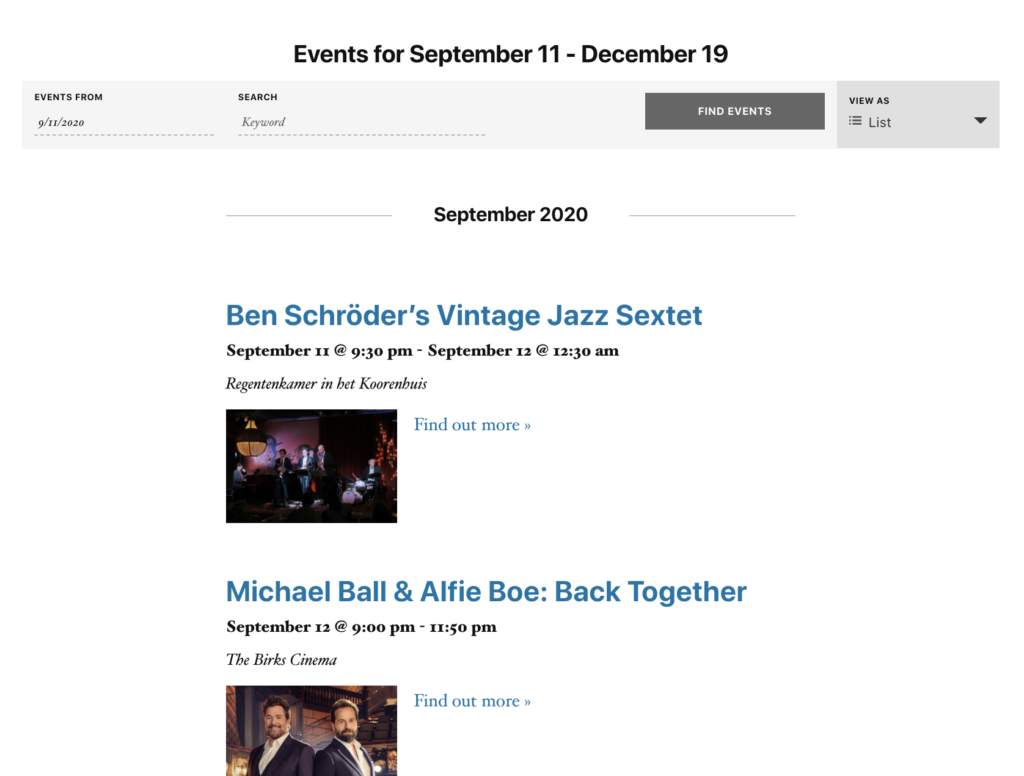
You now see a beautiful overview with events, including a datepicker, keyword search and different view options:
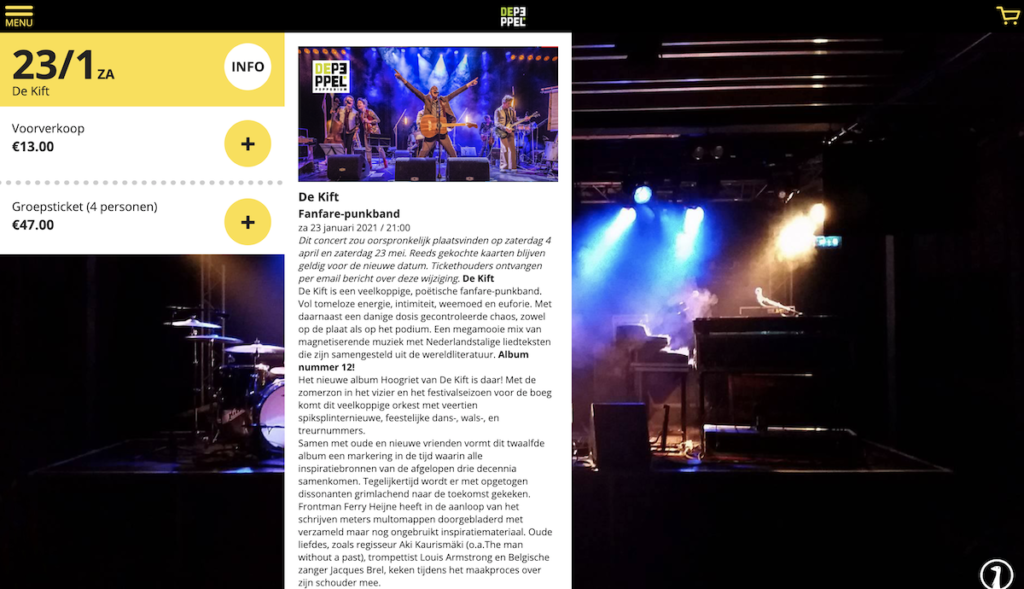
Clicking on the tickets link automatically leads visitors to the proper Stager ticketing page:
Step 5 – Choose the right plan
Jeero's free plan allows you to sync up to ten upcoming events at any given time. Ideal for small organisations and testing purposes.
Is your organisation hosting more events?
Paid plans begin at € 25 per month or € 240 per year and allow you to sync up to 500 upcoming events.
Conclusion
In this tutorial, you learned how to connect The Events Calendar to Stager and have all of your events automatically published on your WordPress website. Jeero handles the synchronization between the two and saves you from manually copy-pasting all of the event details after each update.
Please check out the Getting Started Guide of The Events Calendar to get an in-depth view of all the settings and features.
I hope you found this guide useful. If you require any additional information, please do not hesitate to contact me . I'm also curious if there are any ticketing or calendar plugins that I should include.

