Importing Ents24 events into Theater for WordPress is a breeze with Jeero. Instead of manually copying and pasting information, your website will always have up-to-date information, including dates, prices, and ticketing.
This tutorial will show you how to connect your WordPress website to Ents24. You will then import your events into the Theater for WordPress plugin. When finished, you will have a website that provides an always-updated overview of your events, including featured images, showtimes and genres.
Request your Venue ID for the Ents24 API from your Ents24 contact. You can also ask me to look this up for you.
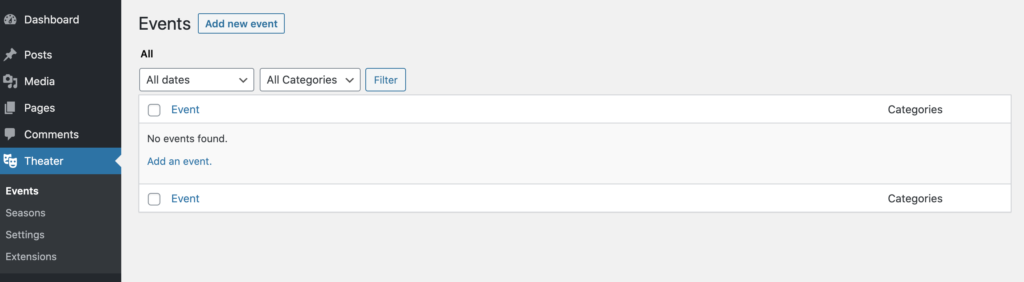
You now have a new Theater menu-item in the WordPress admin:
Select Ents24 in the Ticketing solution field:
Click on Save Changes.
Enter your Venue ID in the Venue field.
Click on Save Changes.
Click on the Theater for WordPress tab.
Tick the Enable Theater for WordPress import checkbox:
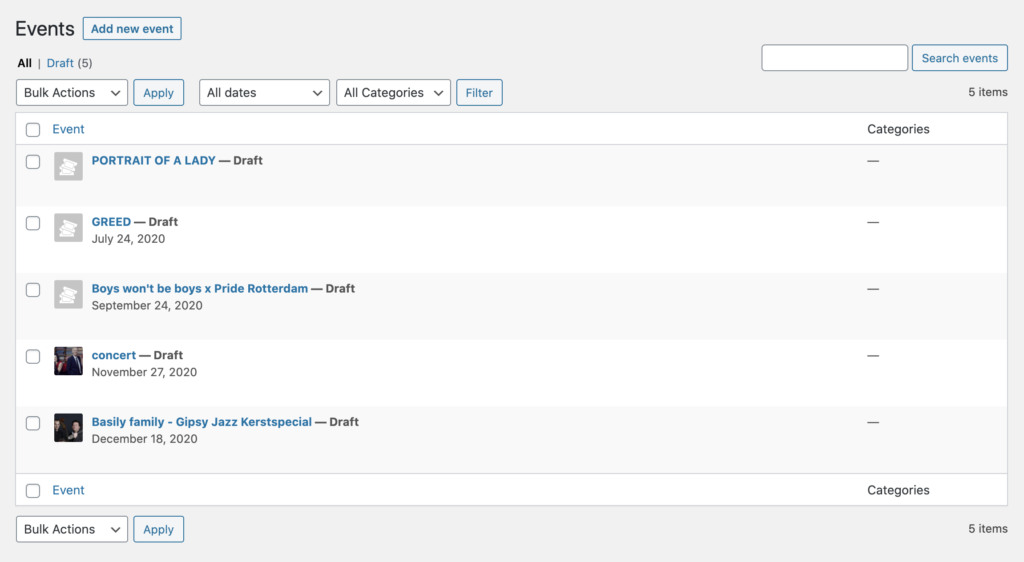
The sync is now active. Your events will be visible in Theater for WordPress within 5 minutes:
You can show your upcoming events on a page.
The page that you created now shows your upcoming events:

A list of upcoming events, generated by the Theater for WordPress plugin
Clicking on the tickets link automatically leads visitors to the corresponding Ents24 ticketing page:

Jeero's free plan allows you to sync up to ten upcoming events at any given time. Ideal for small organisations and testing purposes.
Paid plans begin at € 30 per month or € 300 per year and allow you to sync up to 1.000 upcoming events.
In this tutorial, you learned how to connect Theater for WordPress to Ents24 and have all of your events automatically published on your WordPress website. Jeero handles the synchronization between the two and saves you from manually copy-pasting all of the event details after each update.
I hope you found this guide useful. If you require any additional information, please do not hesitate to contact me . I'm also curious if there are any ticketing or calendar plugins that I should include.
Please contact me so I can add your ticketing solution too.
